From your panoramas to a 3D tour, step by step
What to prepare, what happens during the build, and everything you can adjust afterwards.
Prepare the panoramas
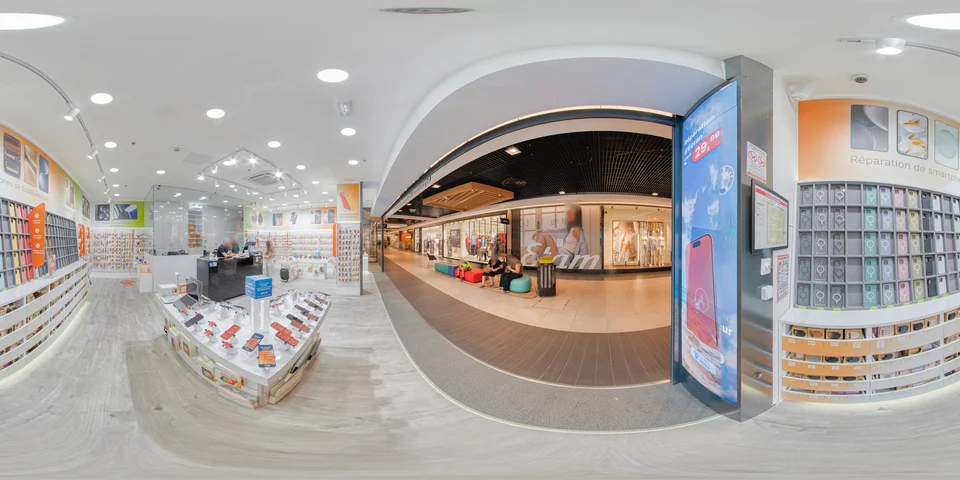
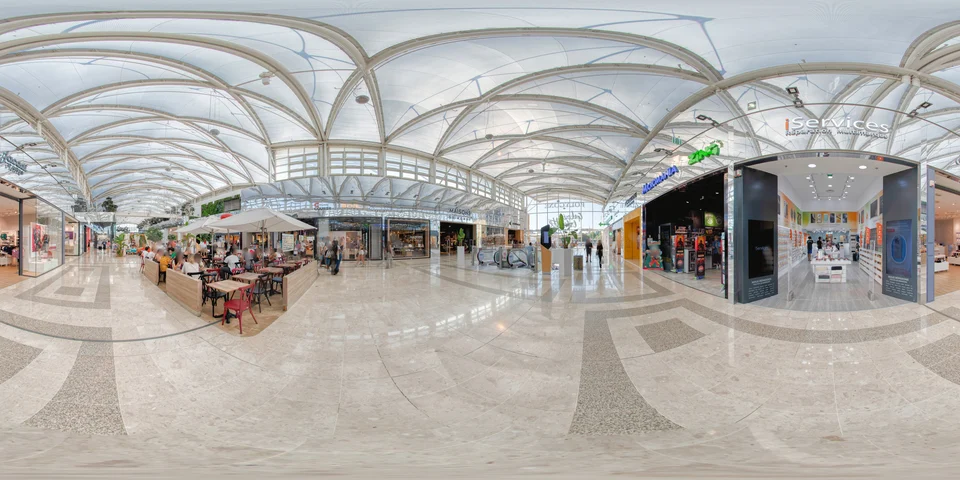
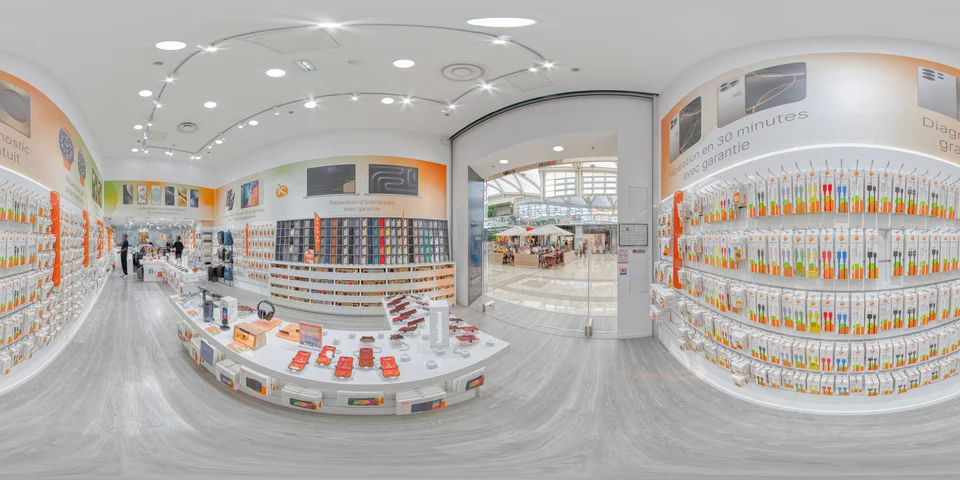
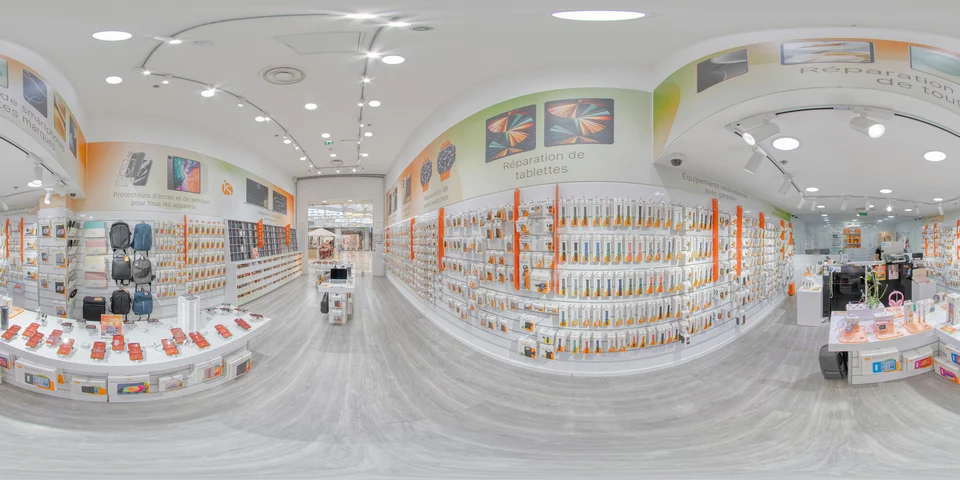
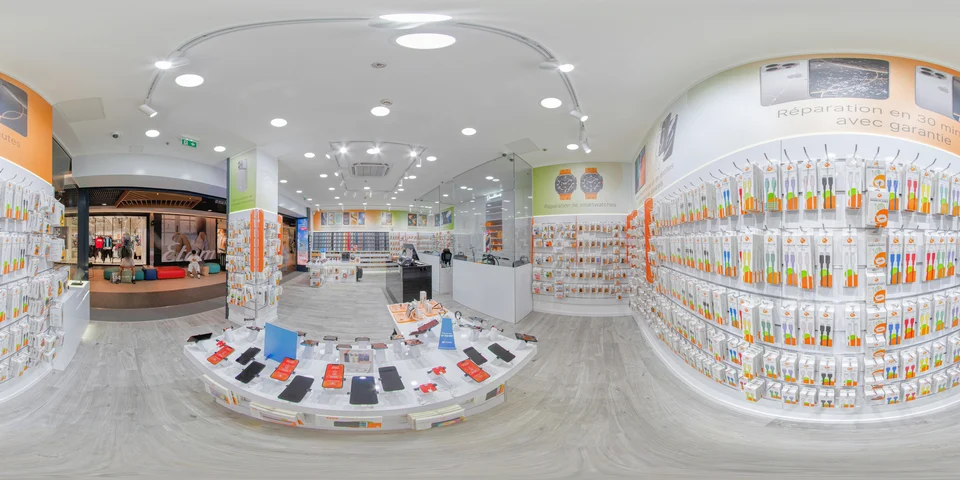
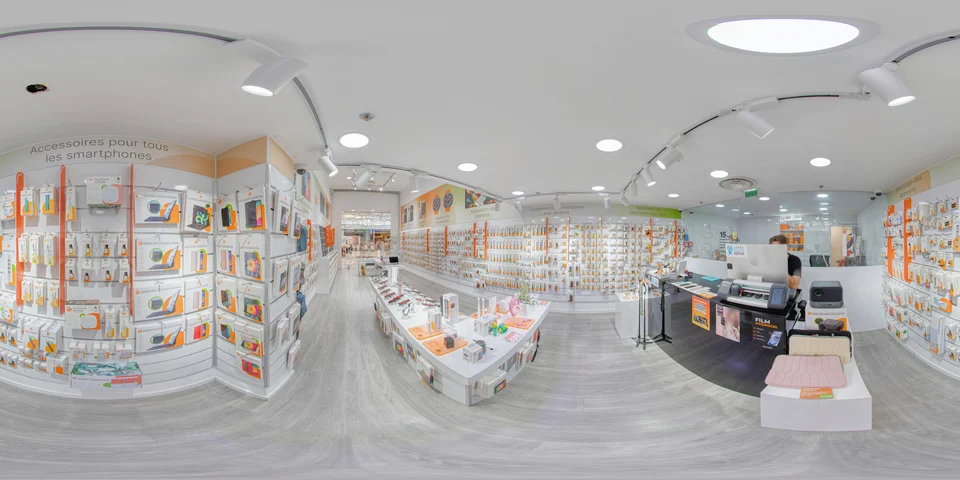
Upload your panoramas as they come out of PTGui or the 360 camera: equirectangular, 2:1 ratio, JPEG.
- Keep the full resolution, up to 16,000 pixels wide and 400 MB per file: the tool prepares the sizes the tour needs by itself.
- The tour starts on the first panorama in file name order if it belongs to the largest group of linked panoramas, otherwise on the most linked panorama of that group. You can change this starting point.
- Up to 150 panoramas per tour, more on request.
Upload
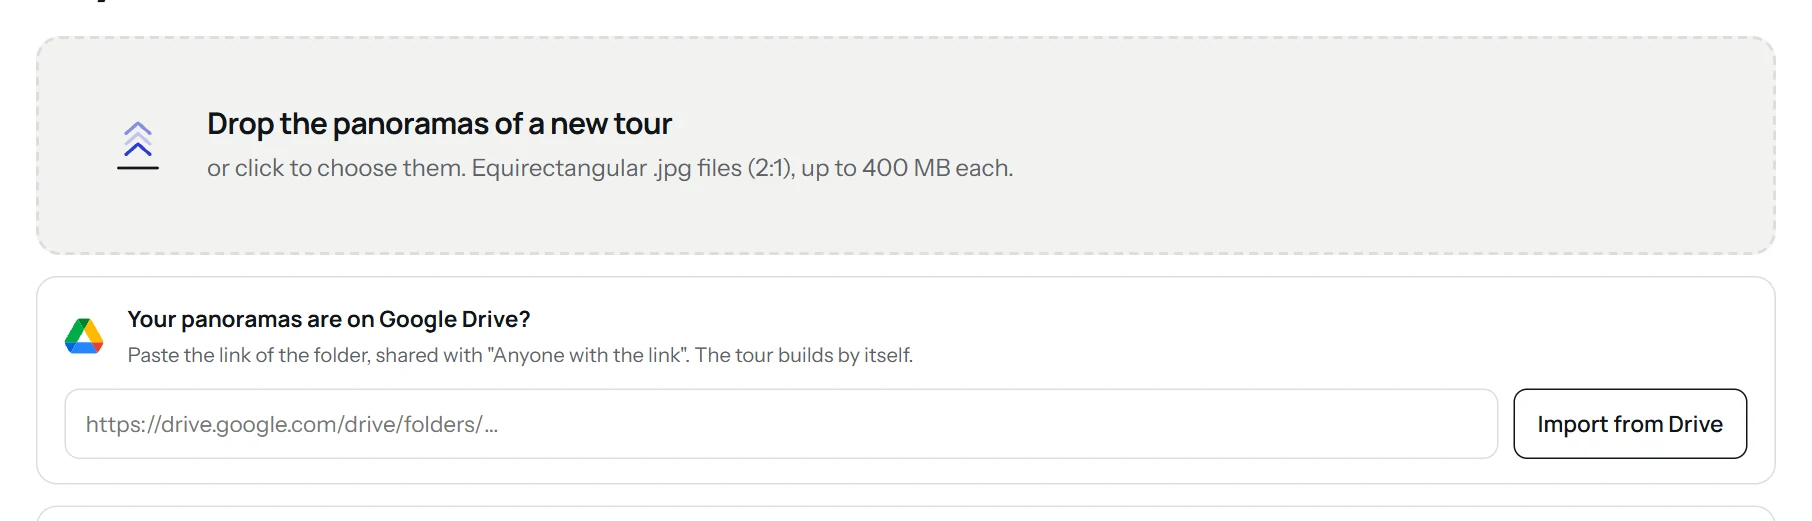
Drag the files into the upload area, or paste the link of a Google Drive folder.
- Google Drive: share the folder with “Anyone with the link”, paste its address, the tour builds by itself.
- Files that are not 2:1 panoramas are skipped and reported.
The build
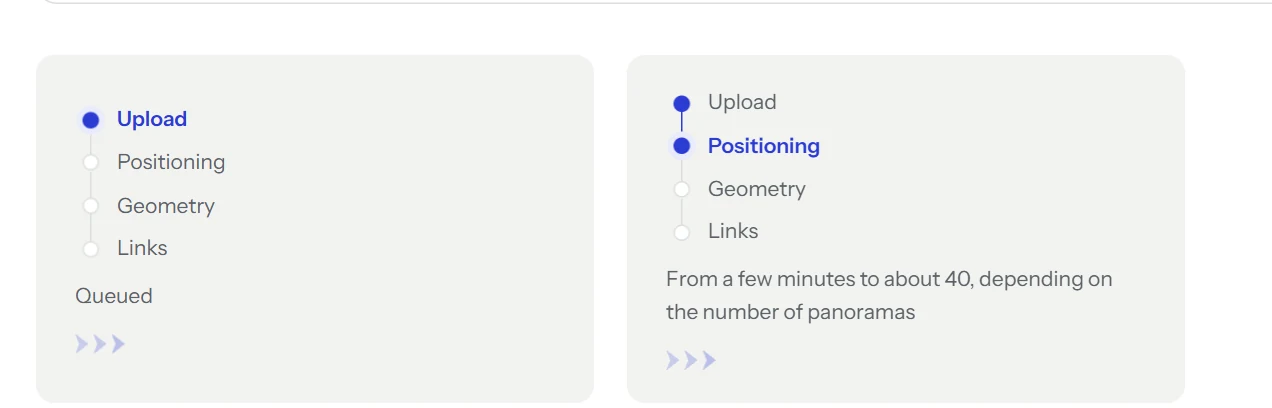
The tour is built on our servers, in four steps shown live: upload, positioning, geometry, links.
- The build takes 15 to 40 minutes.
- You can close the page: an email tells you when the tour is ready.
- Nothing to install, a recent browser is enough.
Check the positioning
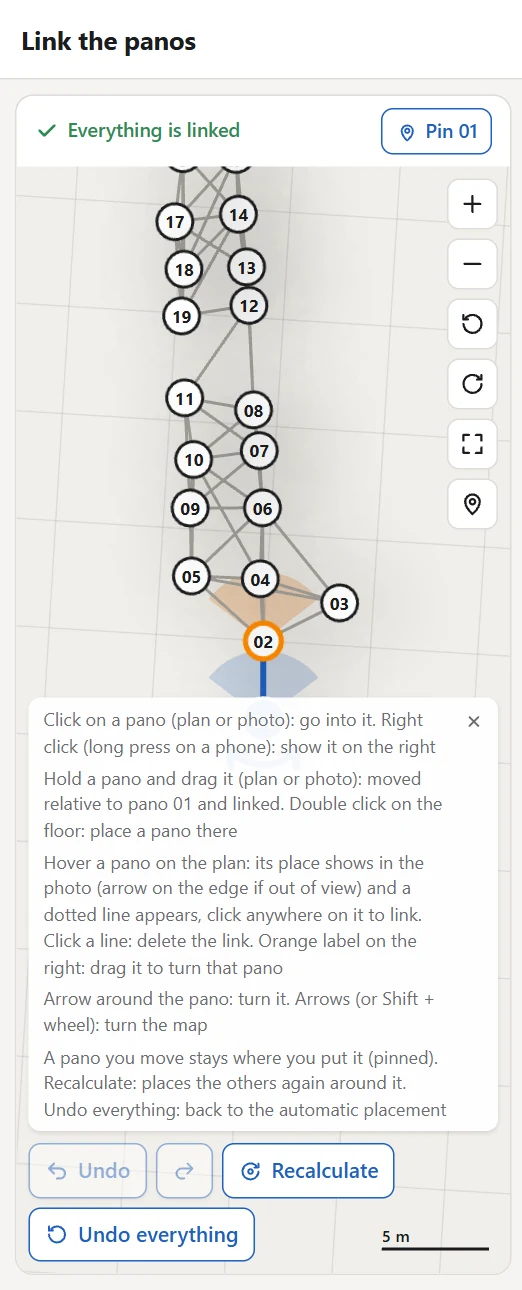
Positioning links most panoramas by itself, including long corridors and buildings in several parts. If some are left to place, the tour is marked “Needs linking” and the editor's “Fix positioning” button turns red, with their number.
- Panos still to place are listed under “To link (2)” at the top of the plan: click one to show it next to yours.
- Photos taken twice at the same spot are removed automatically; the last shot is kept. A useless pano: “Remove 05” takes it out of the tour; it stays in grey on the plan, where one click brings it back.
- A group with no way through to the rest, a bedroom or an annex, can stay a separate space: visitors reach it from the menu.
Customize
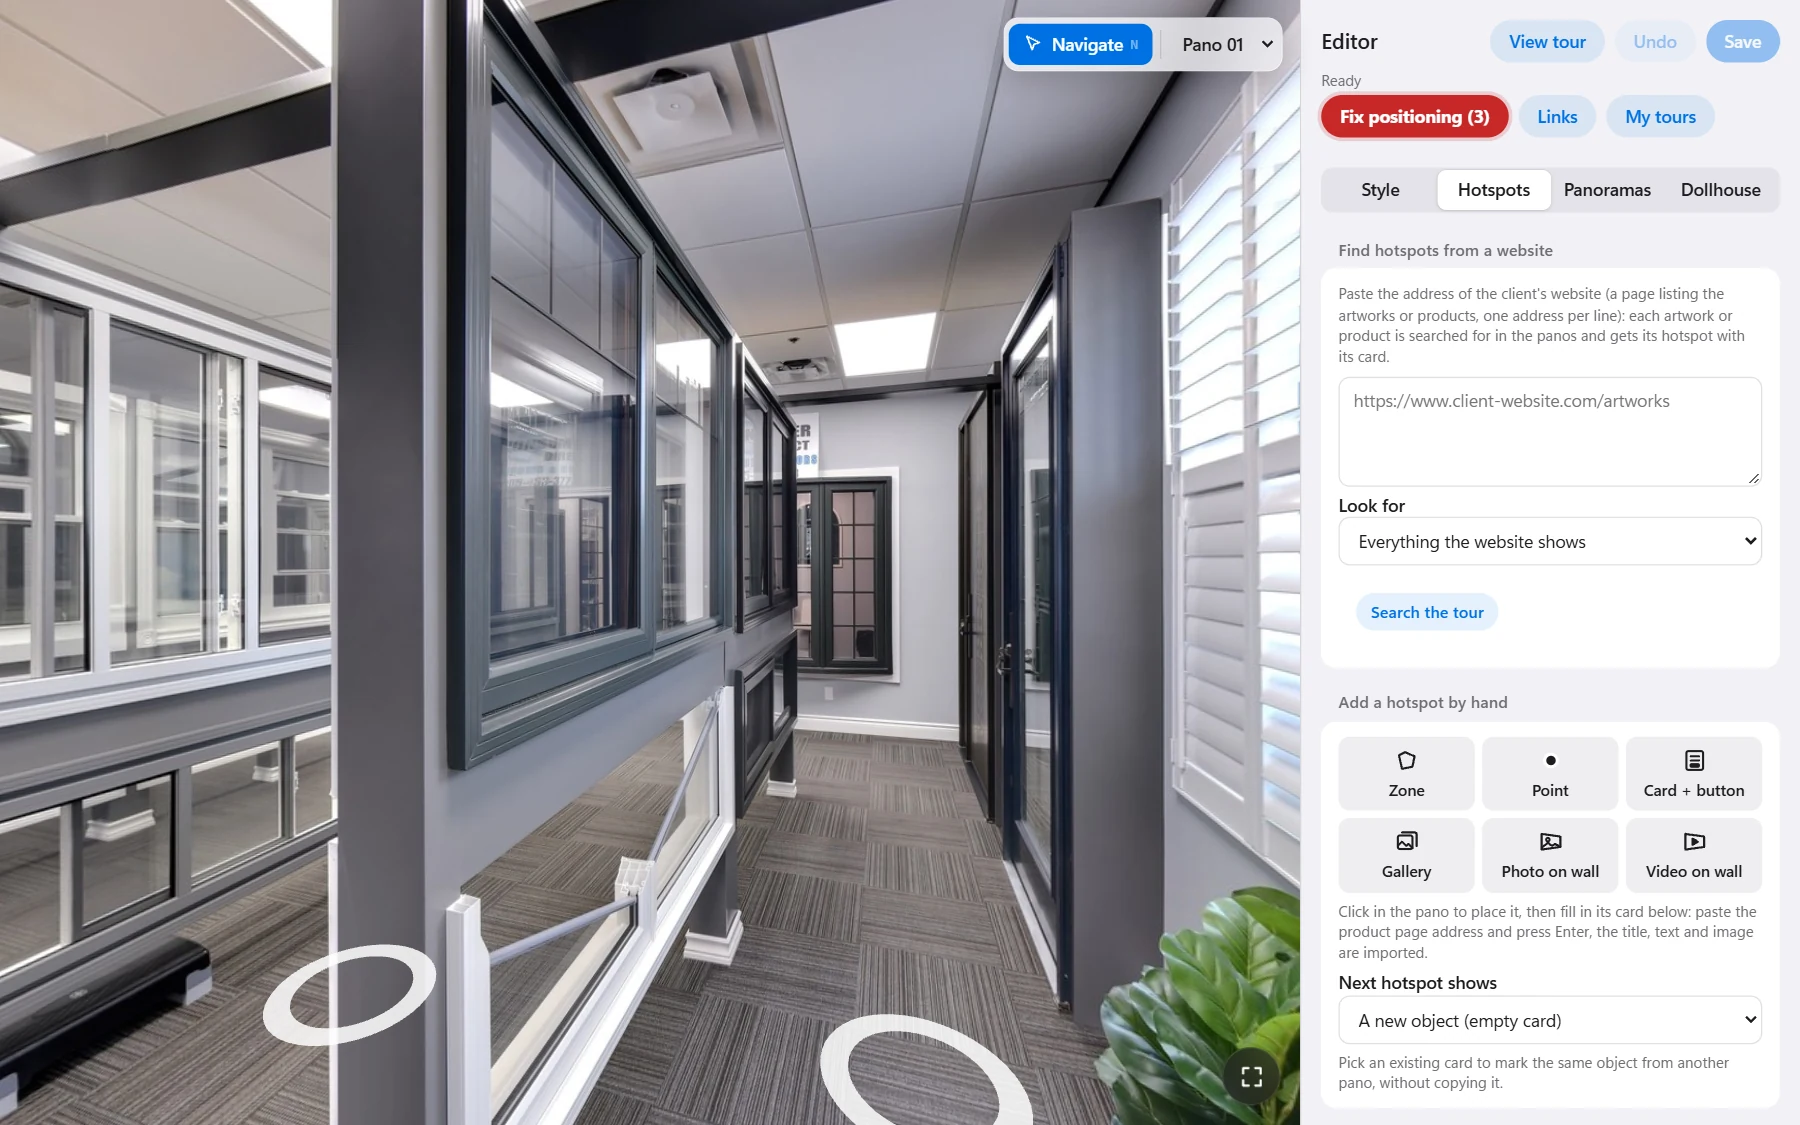
Everything is set online, in the tour editor: menu, logo, points of interest (photo, gallery, video, card), starting view, dollhouse, nadir, brightness.
- Paste your client's website address: their logo and colors are applied to the tour.
- Save this style to reuse it on the next tours.
- Nothing is charged while you adjust: browse the tour as much as you like.
Take and publish
You pay when you take the tour. After that, you can take it as many times as you like.
- Download the full tour (.zip) and upload it to any web hosting.
- Or paste its embed code into your page (WordPress, Wix...): it stays hosted by Virtuaaa.
- Publish the viewpoints on Google Maps from your Google account.
- Send it to your client's website by FTP with our free tool.
Other questions
Do I need a 3D camera or a Matterport?
No. A 360 camera or a DSLR with PTGui is enough: Virtuaaa builds the 3D model (dollhouse) and the floor plan from the panoramas alone. Panoramas from a 3D camera work too, exported as 2:1 equirectangular.
Is the tour white label?
Yes. Once taken, the tour carries no Virtuaaa branding: you deliver it with your client's logo, menu and colors. Before payment, the preview is marked “Preview”.
How much does a virtual tour cost?
The first one is free. Then $10 per virtual tour, $40 for 5 or $70 for 10, for tours of up to 150 panoramas ($10 more for each extra 150).
Is hosting included? Do I pay for it?
Yes, hosting is free, forever: no hosting fee, no subscription. Once you take the tour, paste its embed code into your page (WordPress, Wix...) or share its link: it stays hosted by Virtuaaa. You can also download it (.zip) to host it yourself.
Can I take a monthly subscription?
Not for now: you only pay for the tours you take. For regular volume, packs of 5 tours ($40) and 10 tours ($70) cost less. If a monthly subscription interests you, write to us at [email protected]: we are looking into this option.
Does the tour load quickly?
Yes. The panoramas are cut into tiles: only the area being viewed loads in high resolution, up to 16K.
How do I create a new tour or delete a tour?
In “My tours”, drop the panoramas in the upload area or paste the link of a Google Drive folder: each upload creates a new tour. To delete one, click the bin on its thumbnail, or “Delete this tour” on its page. A deleted tour is no longer shown on the websites where it was embedded; a zip already downloaded keeps working.
How do I fix the positions of the panoramas?
In the editor, click “Fix positioning”: the “Link the panos” editor opens. Drag a badly placed pano, on the plan or onto the floor in the photo, to where it was taken, then click “Save”: the arrows and transitions follow your positions. Step by step: Fixing the links.
Some panoramas are not linked: what can I do?
They are listed under “To link” at the top of the plan, in “Fix positioning”: click one, then drag it to where it was taken (Fixing the links). Most often, an unlinked pano sees no other viewpoint or is too far from them: how to avoid it is on the Preparing your shoot page.
What if many panoramas are not placed?
You can place them yourself in “Fix positioning” (Fixing the links). For a complex tour, on several floors or with many rooms, you are also offered the guaranteed build: for $30, the Virtuaaa team fixes the positioning of the panoramas and delivers the tour unlocked.
How do I remove an extra panorama, for example door open and door closed?
In the editor, Panoramas tab, the cross on a thumbnail selects the pano, then “Remove”. Two panos shot at the same spot are grouped under “Panos shot at the same spot”: click the photo to keep, the others are removed. A removed pano can be restored.
How do I handle floors and the groups of the plan?
When you send the panoramas, answer “Several levels linked by stairs” to the question “How is the place laid out?”: the photographed staircase gives the height and position of each level, and the dollhouse stacks the levels. A group left apart is placed like a single pano: drag one of its panos, the whole group follows. If the tour keeps several groups, it gets a “Group 1, Group 2…” menu, unless you have already made your menu: it opens in the largest group and fades from one group to another. Rename the entries in the editor's Style tab.
How do I add a photo or a video to the tour?
In the editor, Hotspots tab, choose “Photo on wall”, “Video on wall”, “Gallery” or “Card + button”, then click in the pano, on the wall for a photo or a video. A photo is uploaded as JPG, PNG or WEBP (40 MB max); a video comes from a YouTube or Vimeo link, or an MP4 file (200 MB max). A video on the wall plays “Full screen”, “Automatic” (muted, looping) or “On click”.
How do I fix a badly placed pano or a wrong link?
In “Fix positioning”, drag the badly placed pano to where it was taken; a click on a line deletes a wrong link. The how-to is on the Fixing the links page.
How do I get every panorama to link by itself?
Keep 2 to 3 meters between two viewpoints, 4 at most, and take a viewpoint in every doorway. All the rules are on the Shooting for automatic links page.
Which options can I add to the tour?
Logo, menu, background music, audio point of interest, button to another panorama, dollhouse, 2D plan, starting point: each option and where to turn it on is on the Tour options page.
See it on your own panoramas
Upload the panoramas of a real shoot: the tour builds while you do something else.
Another question? Write to us, we answer ourselves: [email protected]